
Learning Solidity Part 1: Contract Dev with MetaMask


What you will need ✅
1. The **Chrome** web browser - [Download here](https://www.google.com/chrome/browser/desktop/) 2. The **Metamask** Chrome extension - [Download here](https://chrome.google.com/webstore/detail/metamask/nkbihfbeogaeaoehlefnkodbefgpgknn) Metamask allows you to sign Ethereum transactions *without* running a full Geth node.
Contract Programming Key Terms 🔥
#### ETH ETH is the main currency on the Ethereum network. However, Ethereum can support multiple currencies and ETH eventually will not have privileged status.
Gas
Executing transactions on Ethereum either runs computations or stores data. This Costs the network CPU cycles or storage space. That cost is paid for by the account that initiates the transaction. The payment is called "gas". Gas is currently paid using ETH. At the time of writing this, 1 GAS = 0.00001 ETH.
Morden
Morden is a name for one of the most popular public Ethereum TestNets. It is the same as the Ethereum network, but ETH on Morden is worth nothing. You can get ETH for free on Morden from many Morden "ETH faucets".
Setting up Metamask 🚀
To easily deploy contracts to Morden, we will need Metamask. First install Metamask if you haven't already here.
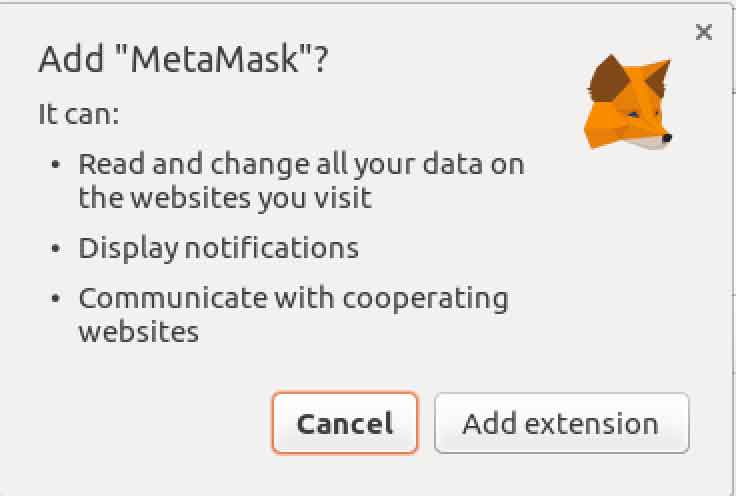
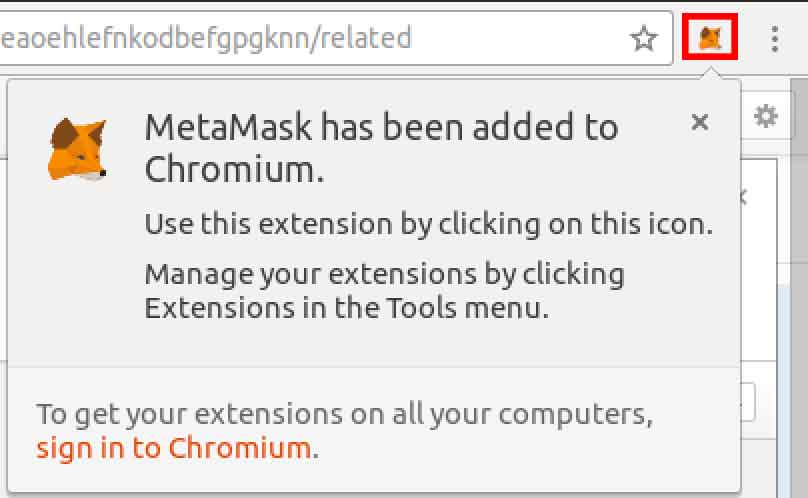
In the top right corner of Chrome you should now see the cute Metamask fox :)
Click on the icon and let's start creating your Ethereum wallet!
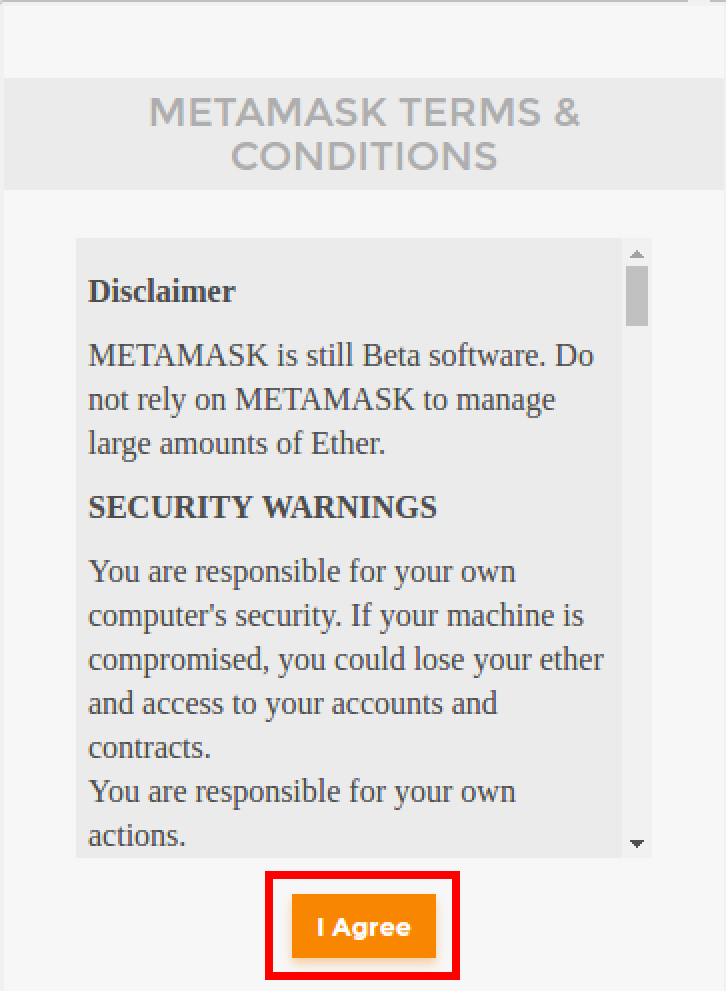
Agree to the terms of service. At the time of writing this, Metamask is beta software, so if you want to use it for the MainNet, just don't store or transact more than you can lose.
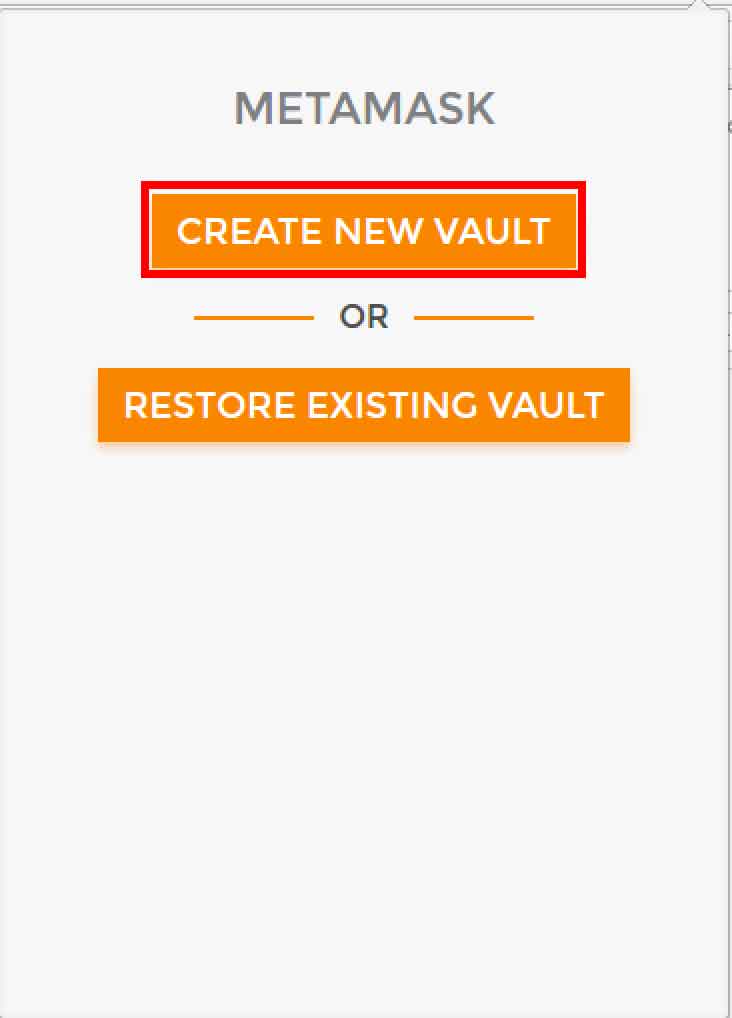
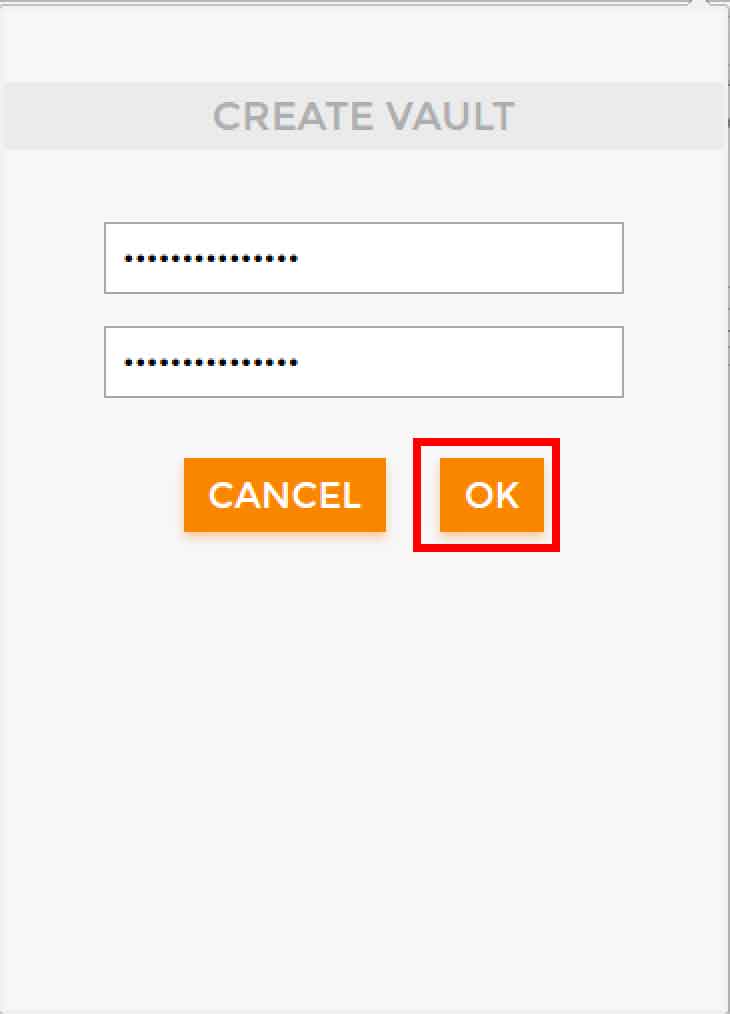
Now click CREATE NEW VAULT. This will begin the wallet generation process.
Input a password.
Note: If you want to use this account for anything of value, use a unique randomly generated password stored in a password manager like 1Password or LastPass.
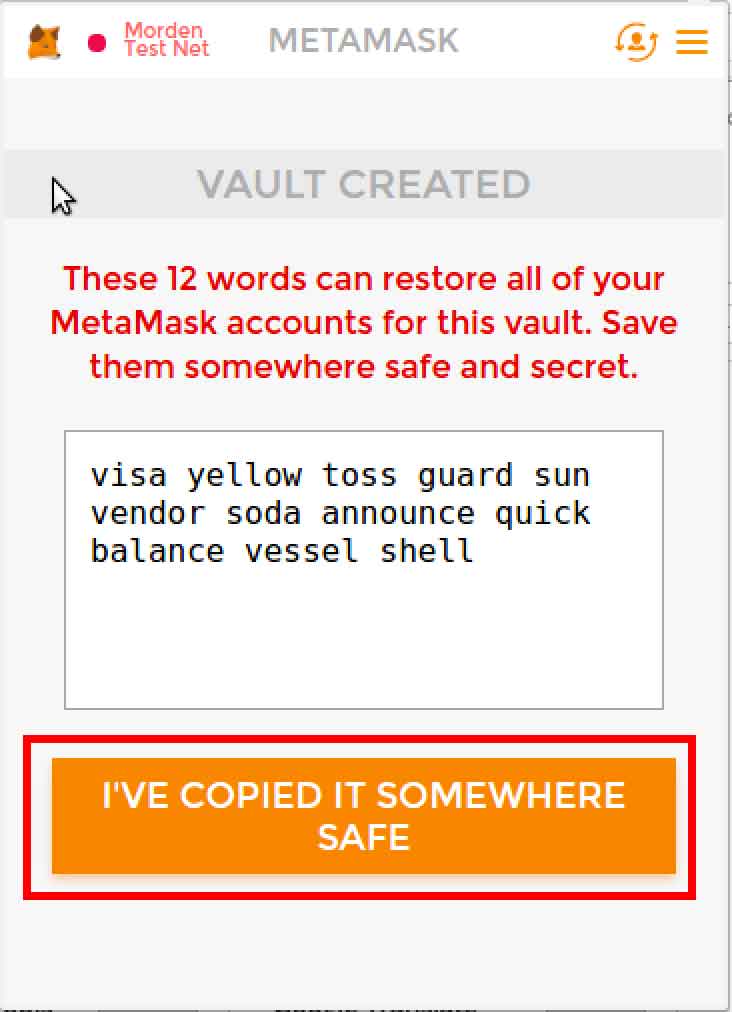
Back up your randomly generated "seed phrase". This is your master password for the vault. Keep it extremely secure, and definitely don't post it on the internet.
Fun Fact: Your account information is never sent to anyone on the network. It's never registered in some database. Instead, we rely on the probability of two people generating the same account being so low that it's nearly impossible. However, it could happen to you! (Though it will almost certainly not)
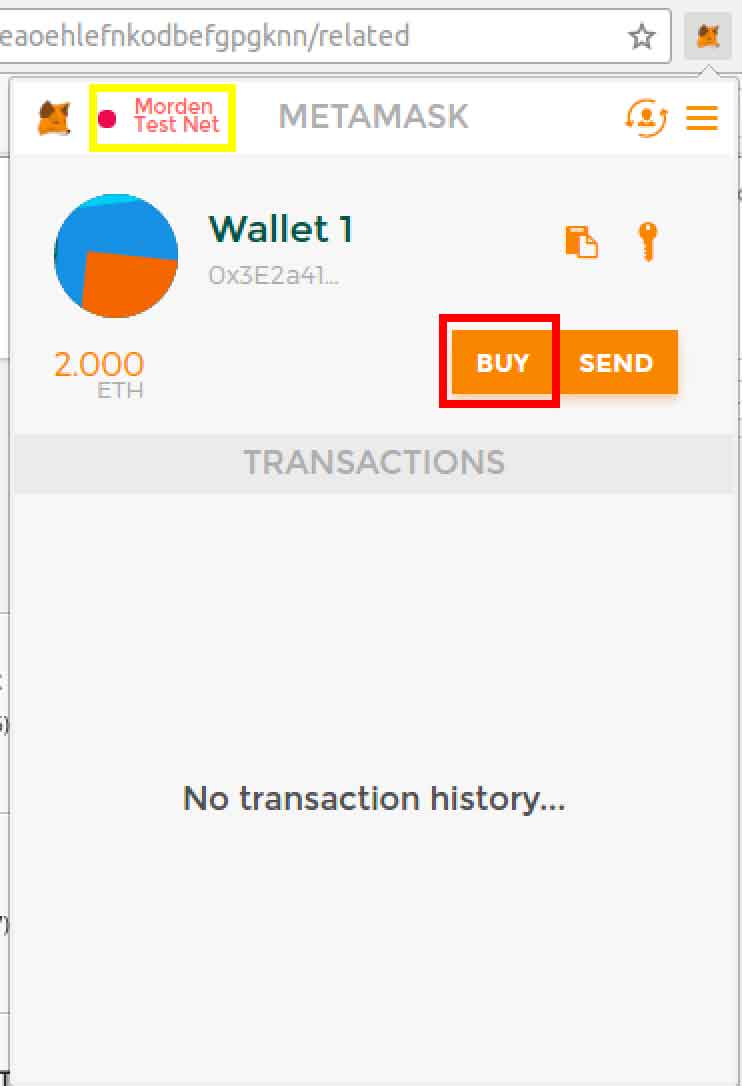
Congratulations! You now have an Ethereum wallet. In the top left corner, you should see "Morden Test Net". This is the network you are currently connected to. You can click it and switch between TestNets and the MainNet. We are going to stay on the Morden TestNet.
Before uploading our contract, we will get a little extra ETH just in case. To do this, click "BUY".
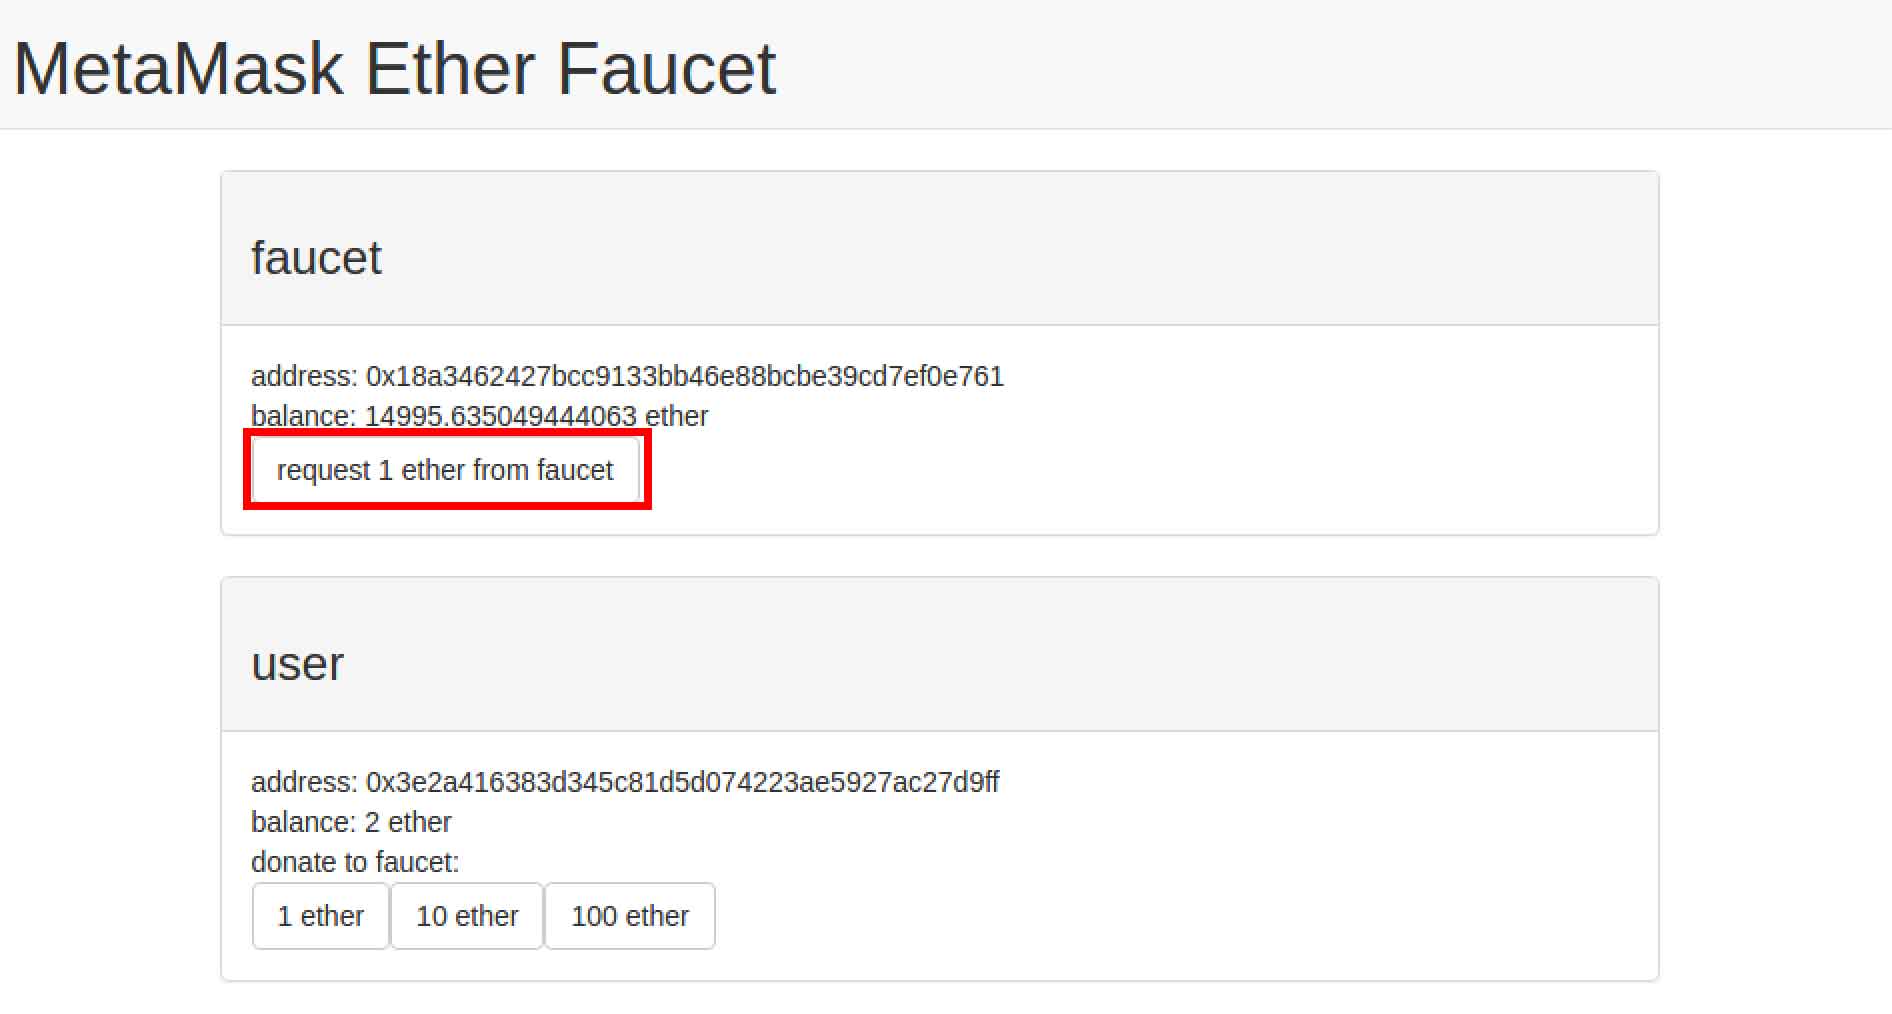
You will be taken to the MetaMask ether faucet where you can click "request 1 ether" and it should send it to your account. If you ever run out of ETH, just come back here
Time to write our first contract! ✏️
MetaMask is pretty much set up. Now we've got to use it! First, go to this website:
This is a good browser-based Solidity editor. It allows you to deploy contracts and interact with contracts. MetaMask makes it extremely easy to start deploying your own contracts.
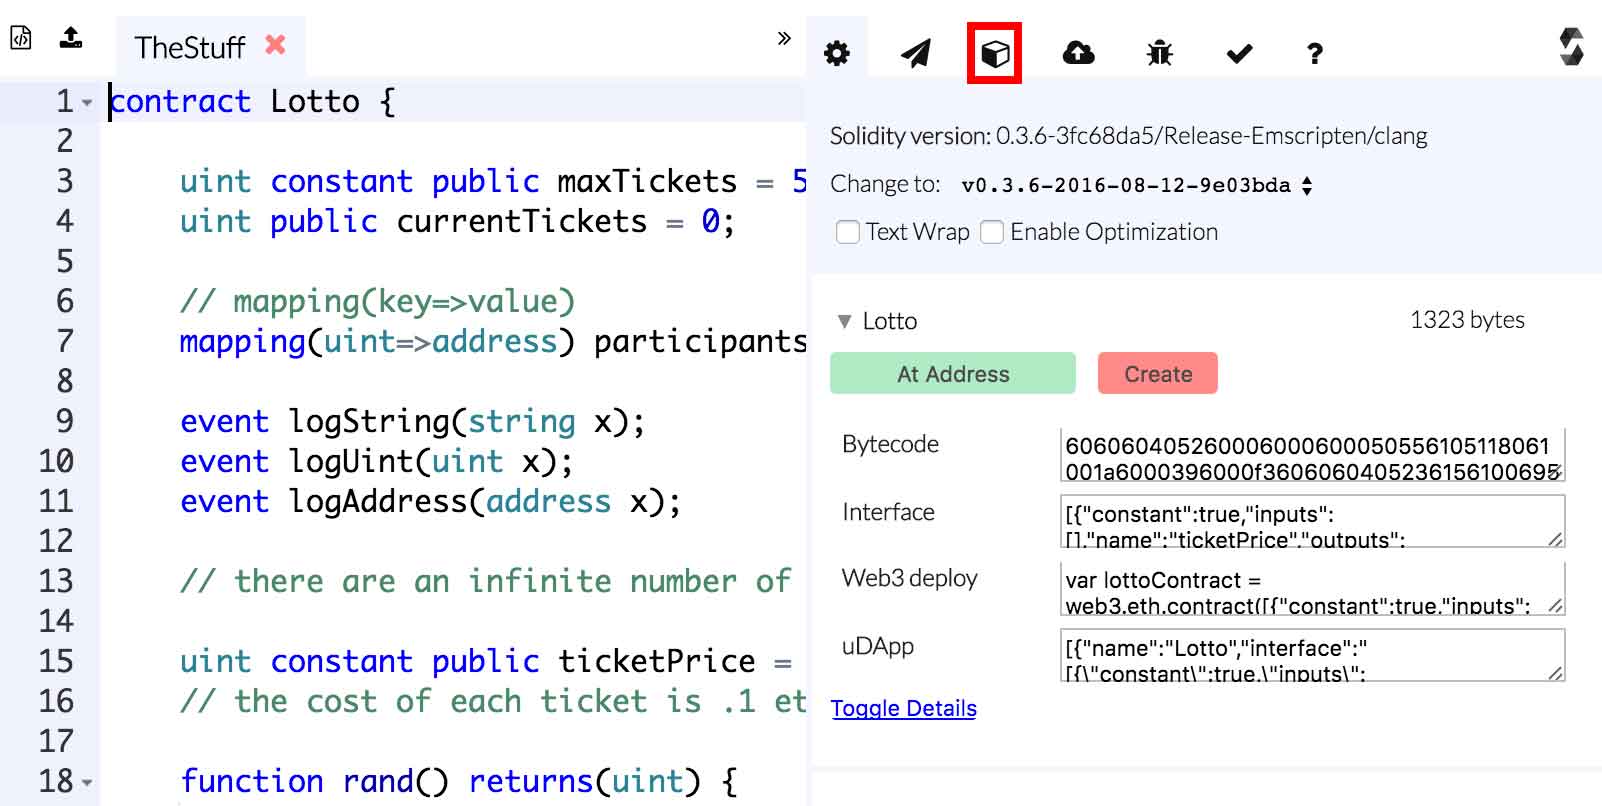
Once you visit the site, you will see an example contract. Just ignore it--it's quite complex. Instead, click on the box icon. (Browser Solidity is not very intuitive, so it's natural to be a bit confused at first)
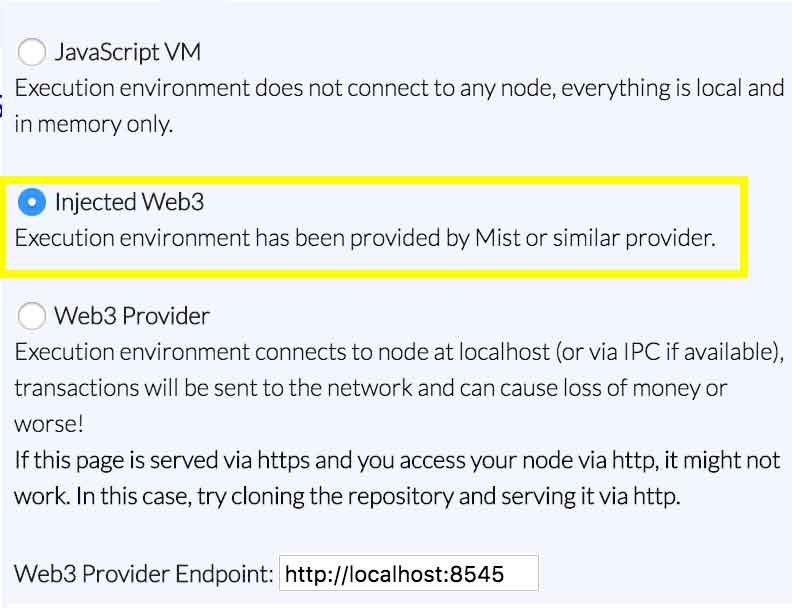
Make sure that Injected Web3 is selected. If it is, then Browser Solidity recognized that you're using MetaMask and it will connect to their servers. If it is not selected, make sure MetaMask is running and refresh the webpage.
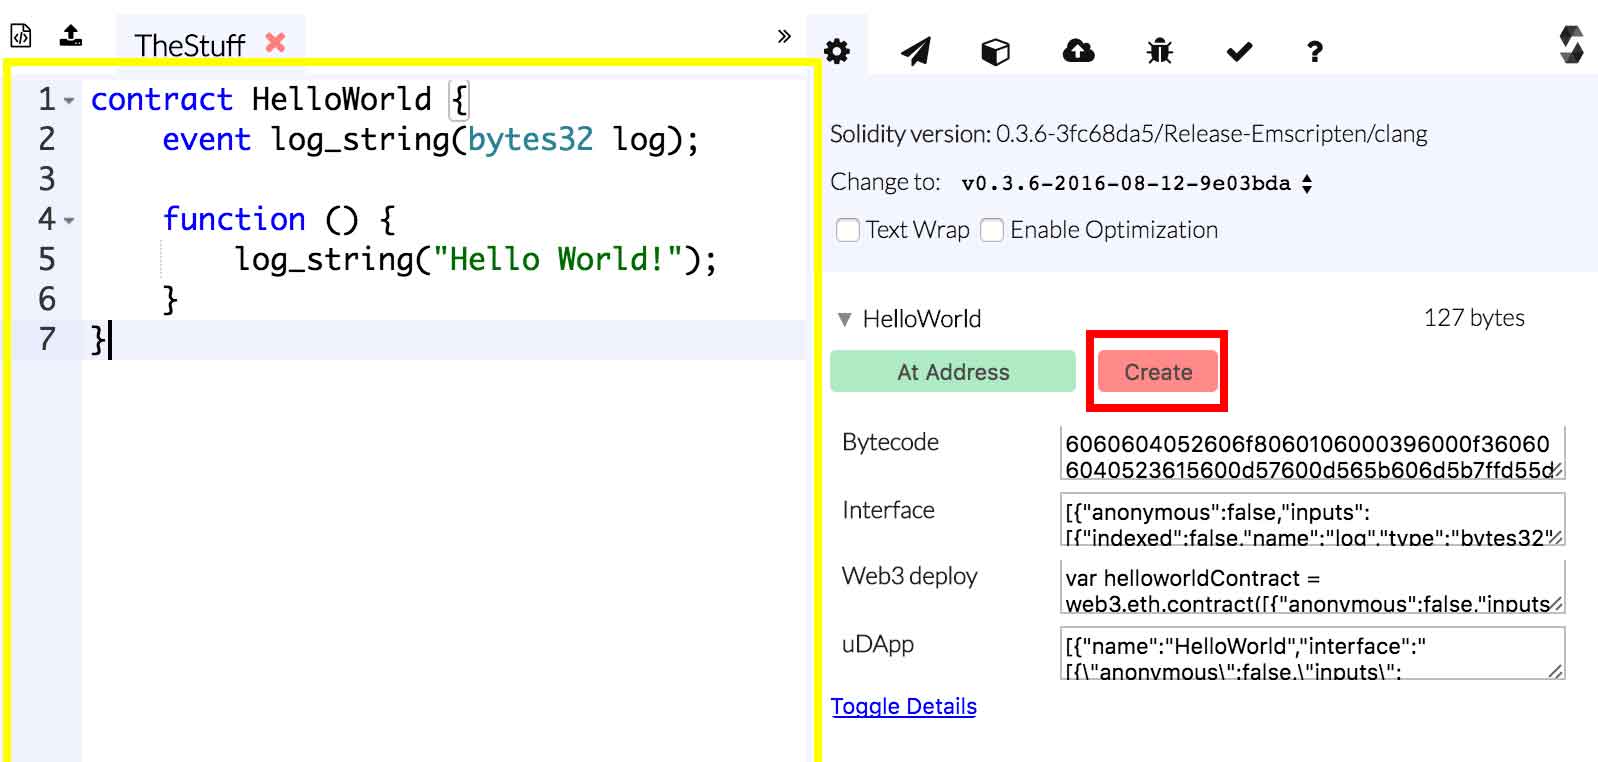
Next, let's take a look at the HelloWorld contract we are going to deploy to the network:
contract HelloWorld {
    event log_string(bytes32 log); // Event

    function () { // Fallback Function
        log_string("Hello World!");
    }
}
What's an event? Events are essentially logs in the EVM. When running a contract, you can call events and pass them the data you wish to log. In this case, we create a custom event called log_string(bytes32 log). This will log whatever we pass in as a parameter. More information here
What's function () {}? This is a fallback function. Fallback functions are special functions which are called when a contract is called and no existing function was specified. Fallback functions are commonly used as they are executed whenever a user sends ETH to a contract, and that's why we are using it.
How will this work? We will deploy this contract to the TestNet. Once we have done that, we will send a transaction to the contract. We will then use an Ethereum block explorer to read the log.
Let's dive in! First, copy the HelloWorld contract into Browser Solidity. Once you've done that, click Create.
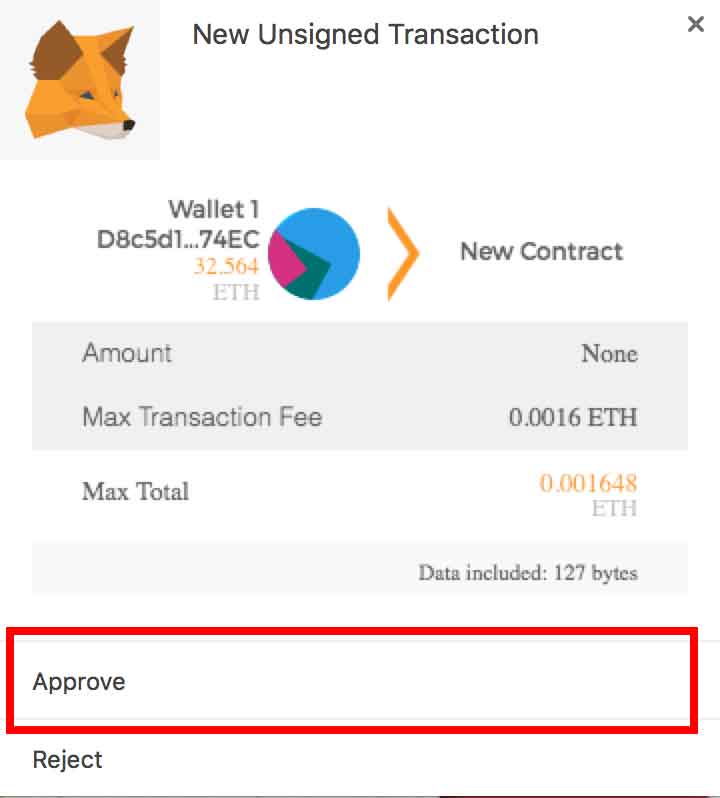
You should now see a notification containing information on your transaction. Once approved your transaction will be sent to the Ethereum network.
Note: If you don't see this immediately, click on the fox and make sure you're signed in.
Now, open your wallet and take a look at the transaction listed. Hover over it, and click it. This will take you to https://etherscan.io to view inspect your specific transaction.
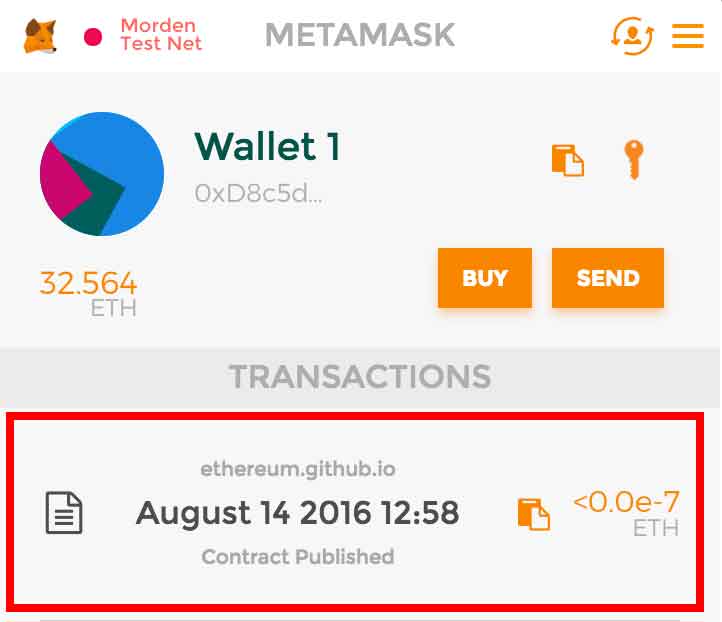
Once on Etherscan, you will likely see your transaction is Pending. Just wait a bit and refresh your browser. Once it is deployed, click on your new contract's address.
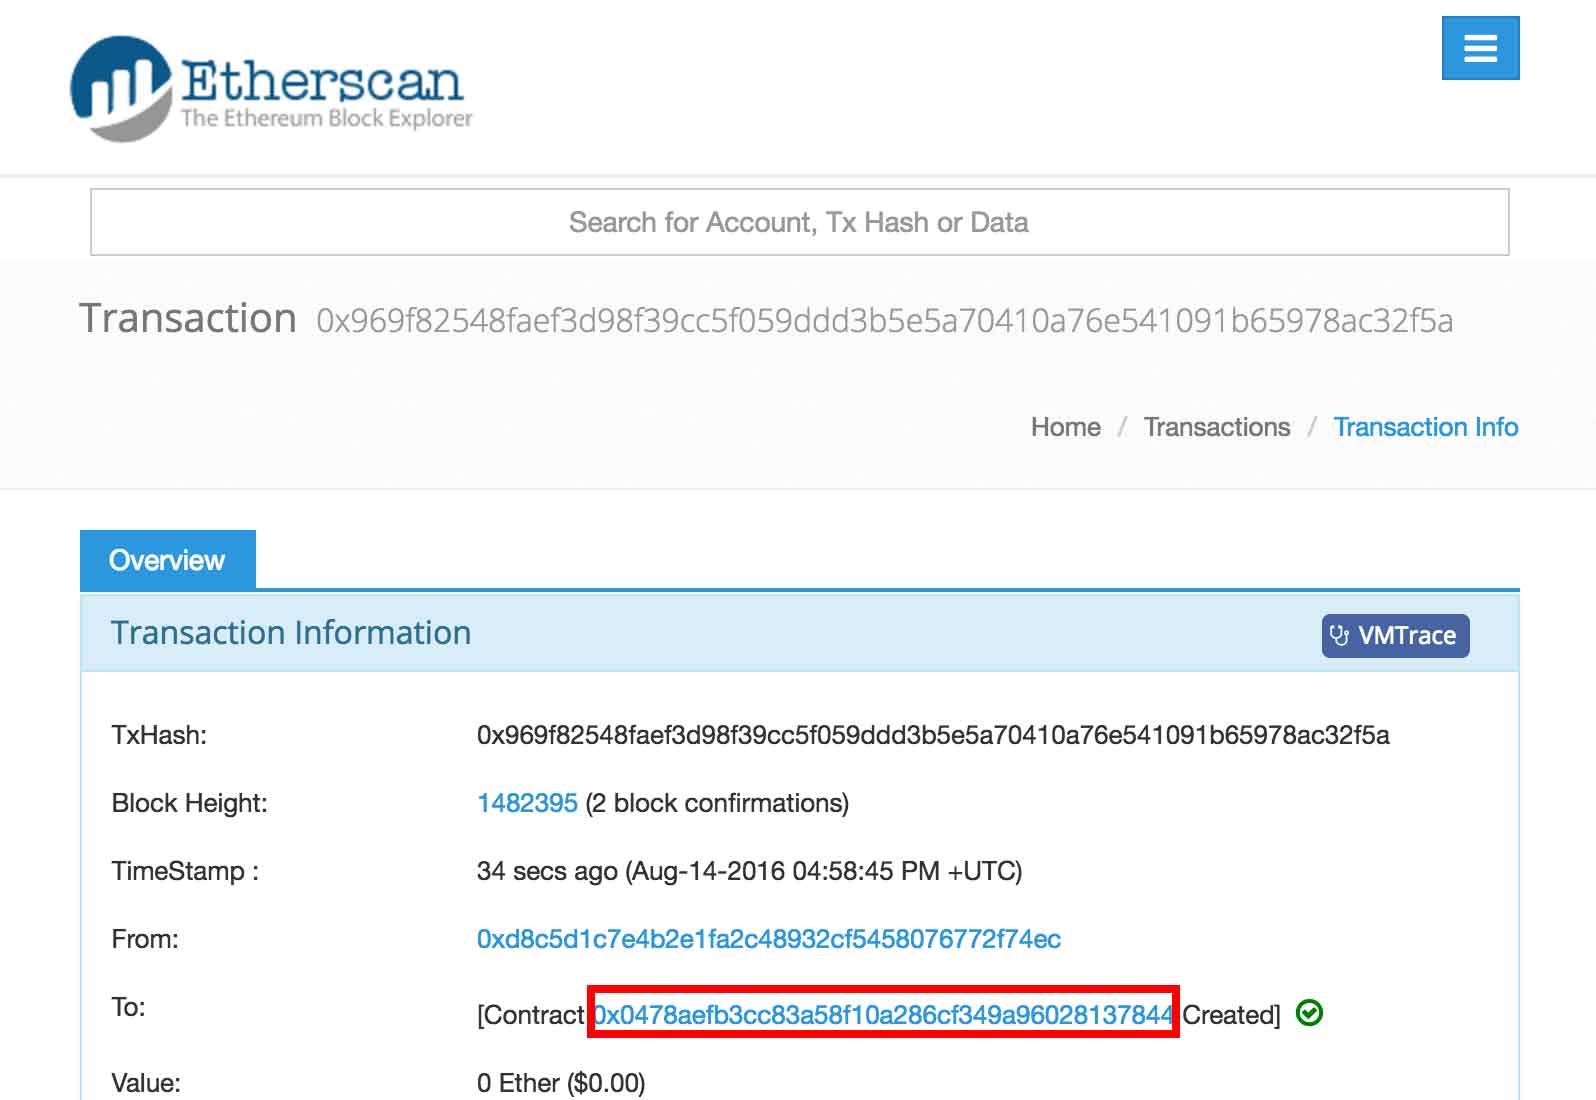
On this page you can inspect all transactions that involve your wonderful contract! We want to send the contact a transaction so it will print "Hello World!", so let's copy its address.
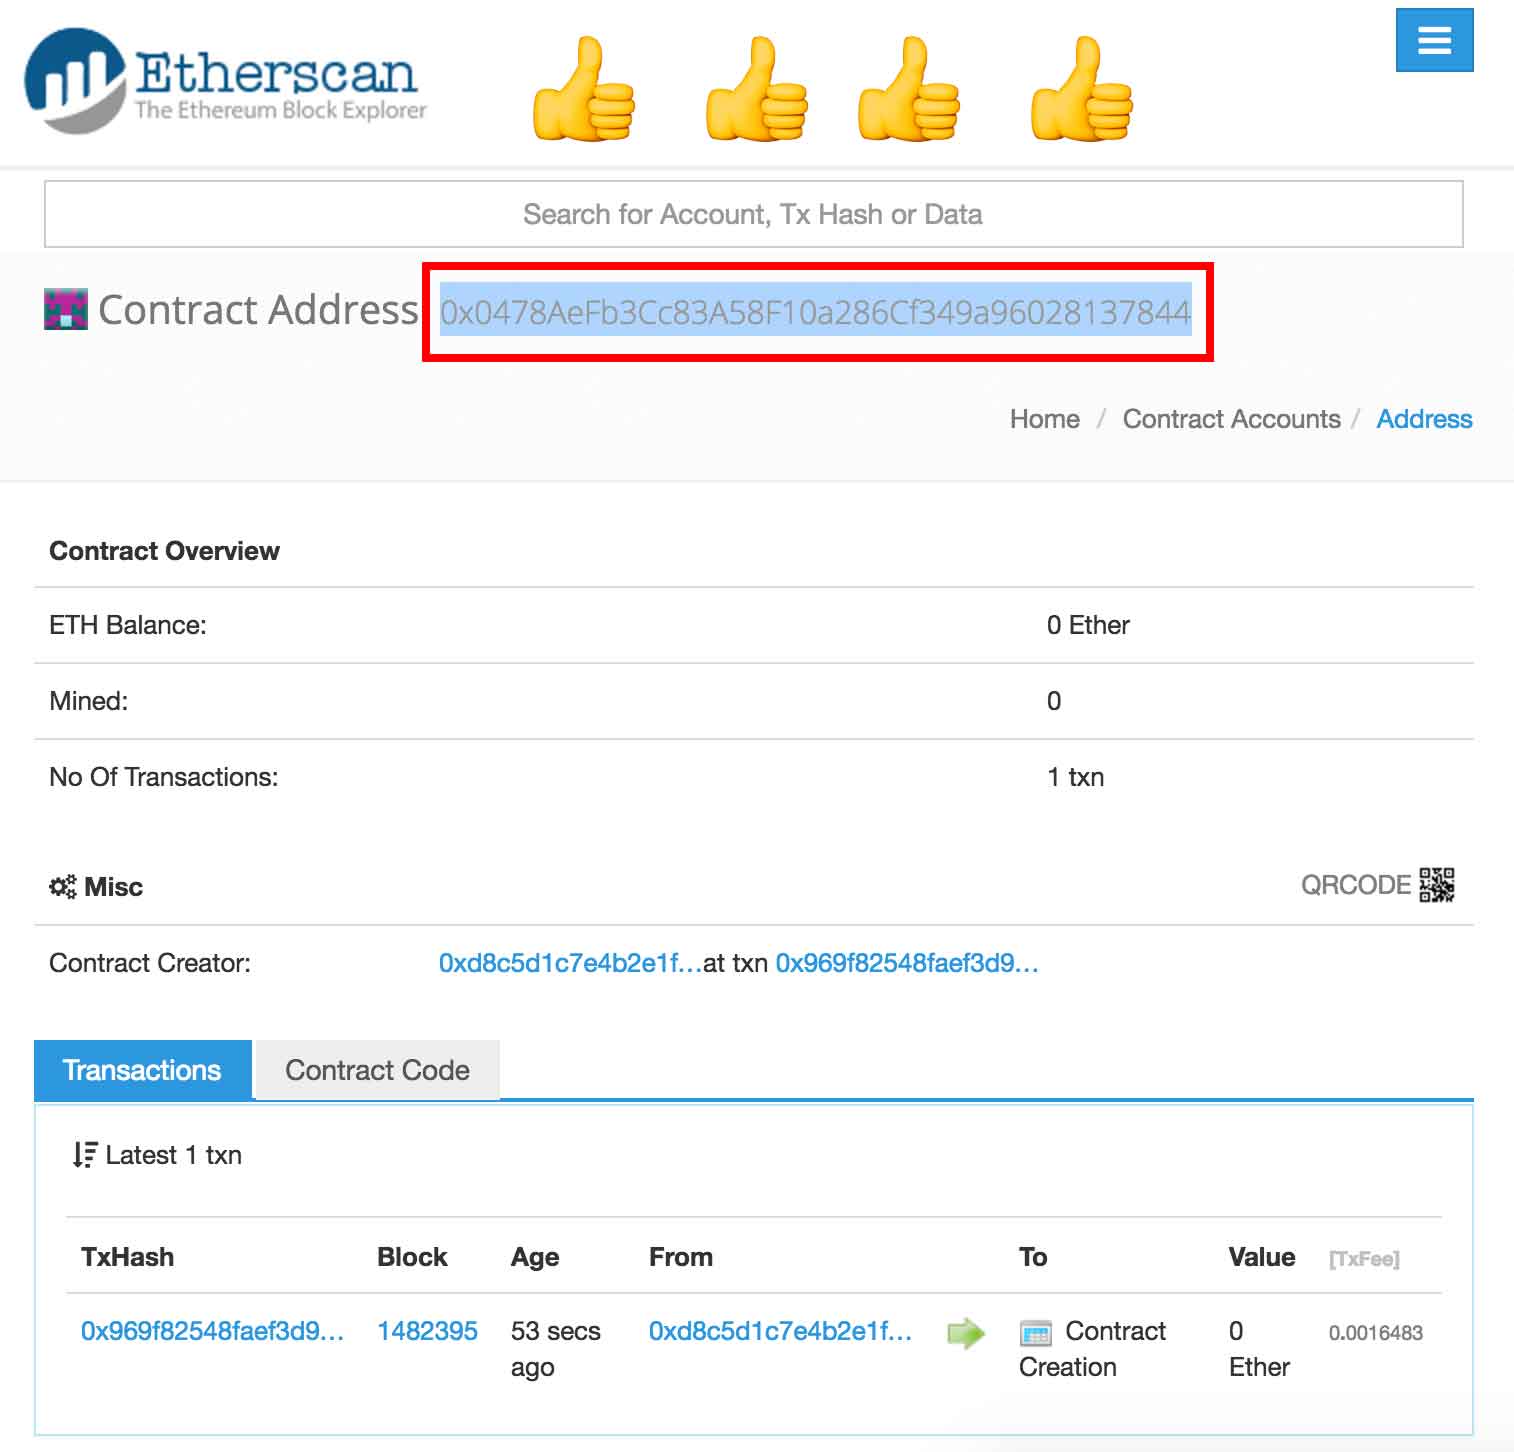
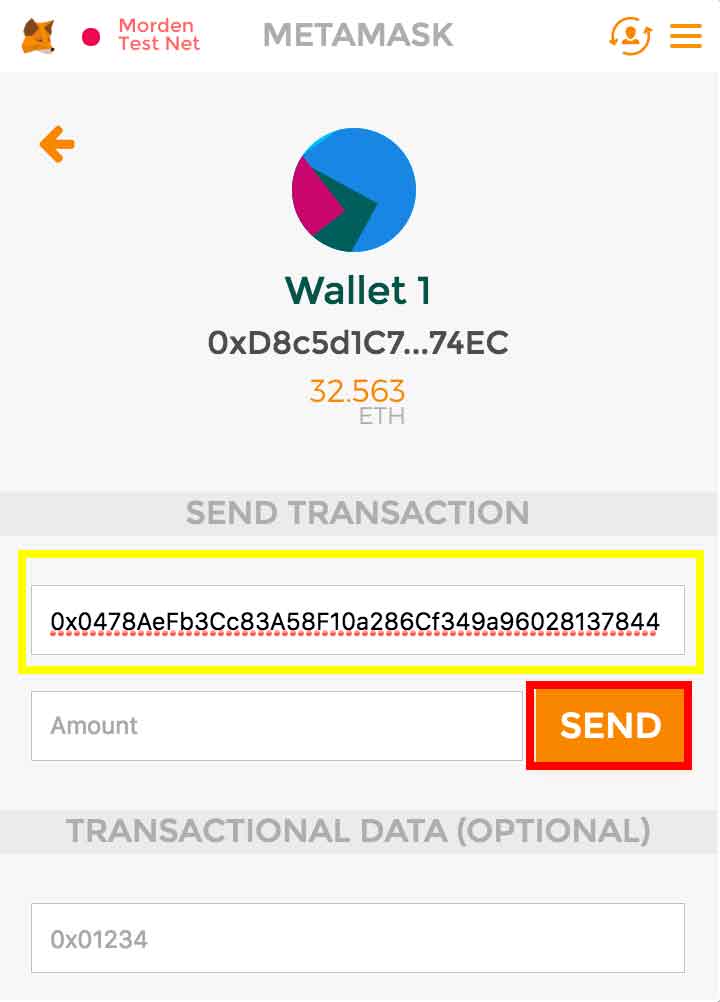
Open up MetaMask again and let's send a transaction!
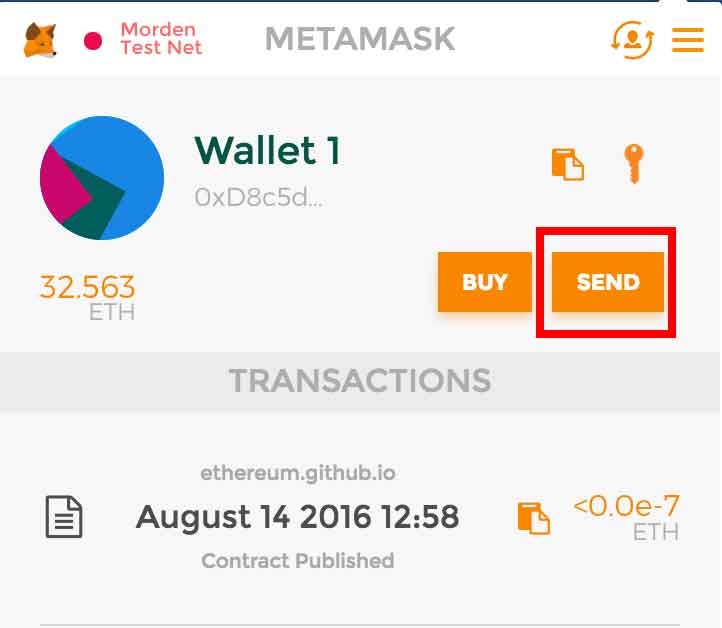
Paste your contract's address into the To section. Optionally, you can send your contract some ETH (ie. 0.1) to see its balance increase. Then click send.
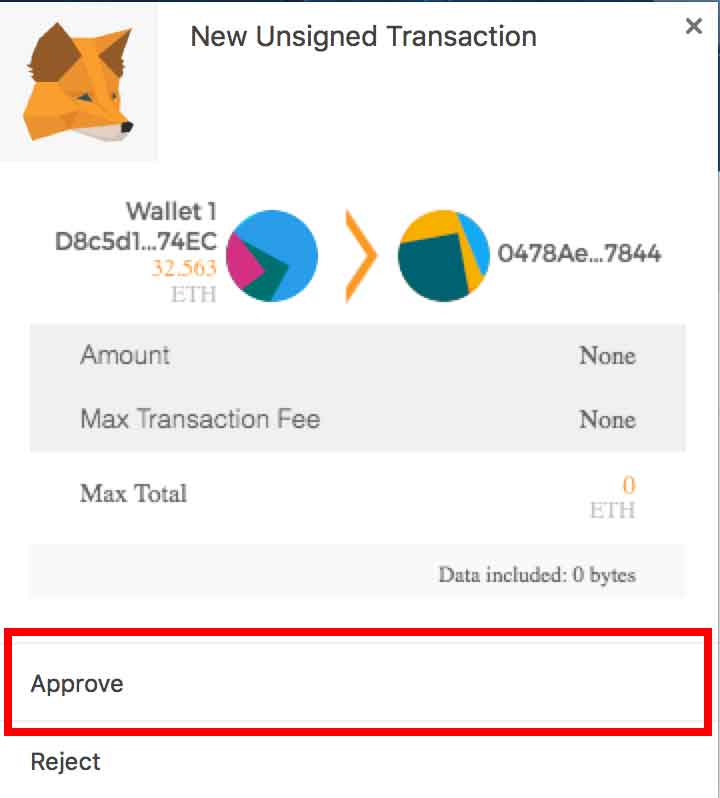
Once again, click Approve to send your transaction.
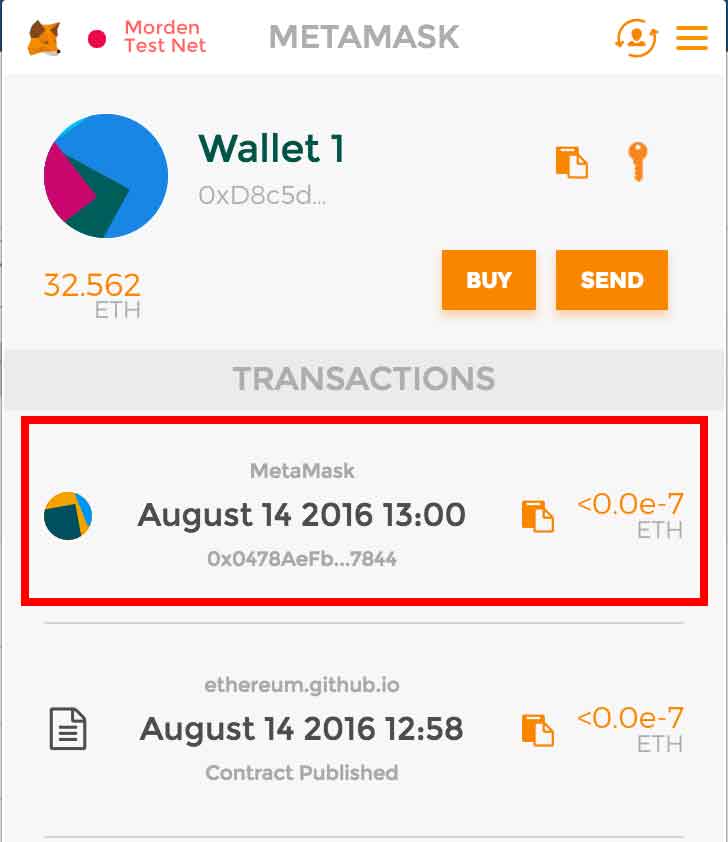
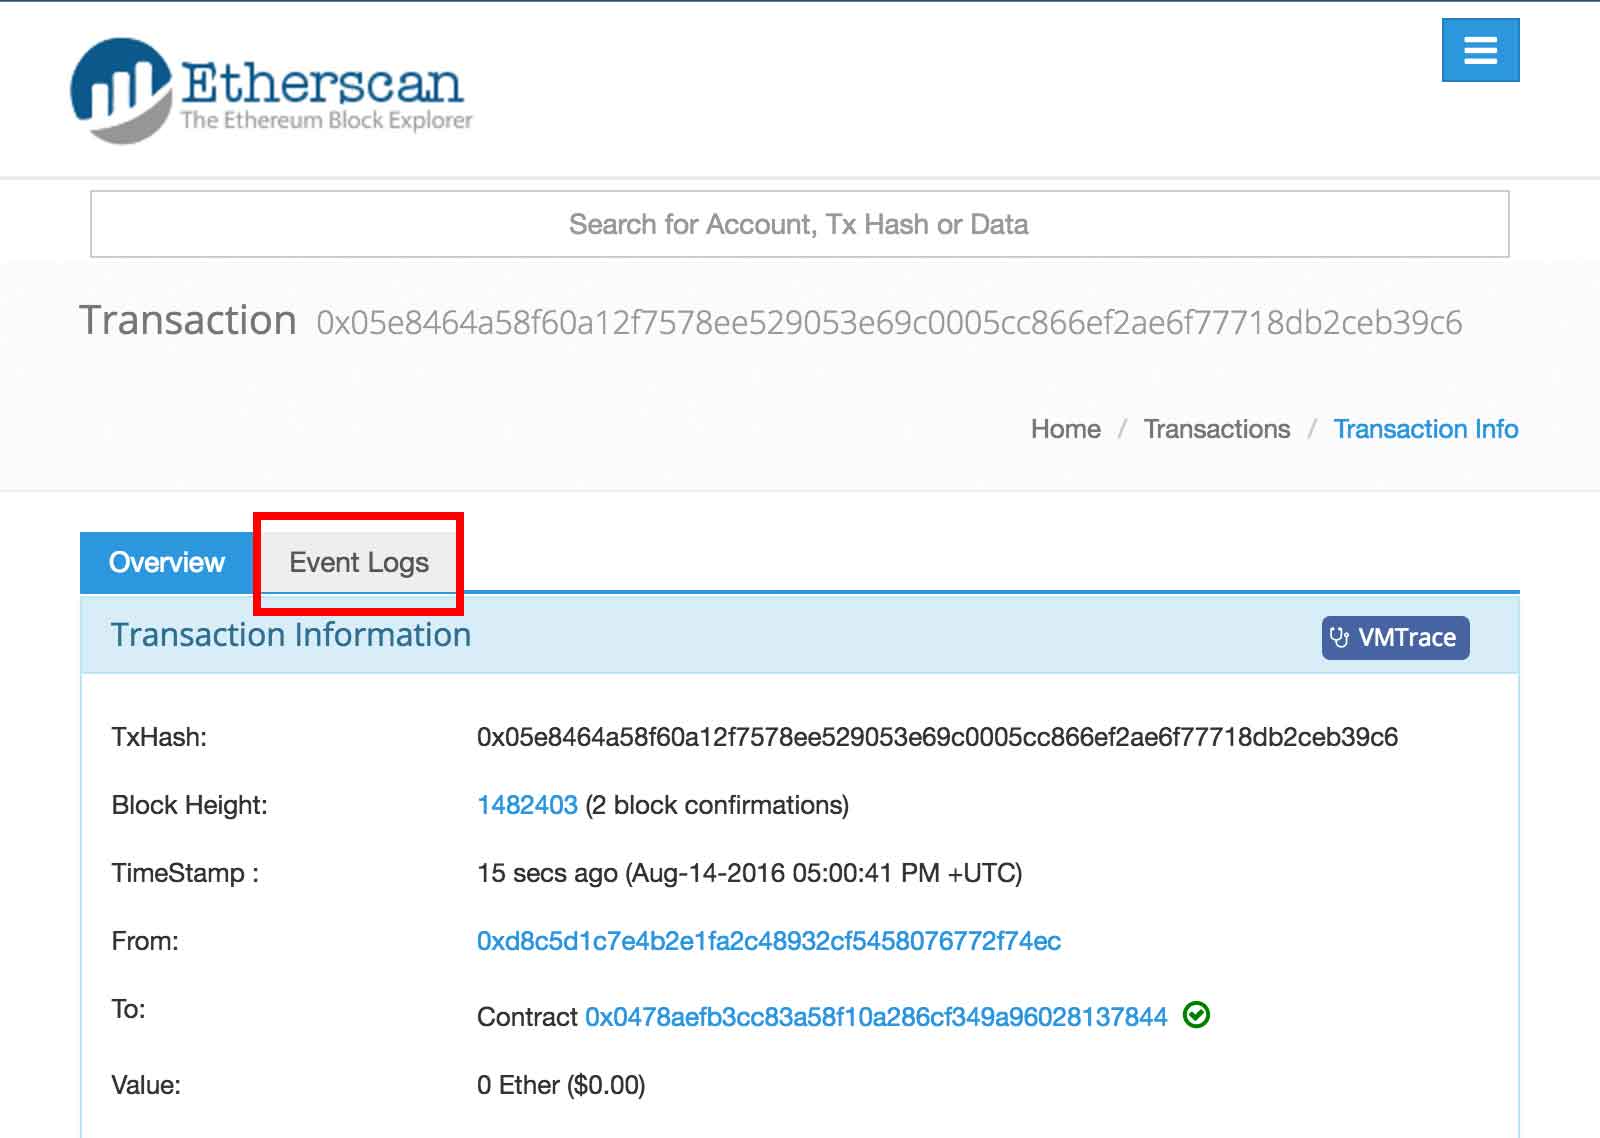
MetaMask should now list your new transaction. Click it to inspect further on https://etherscan.io
Almost there! Just click Event Logs to see if "Hello World!" was logged!
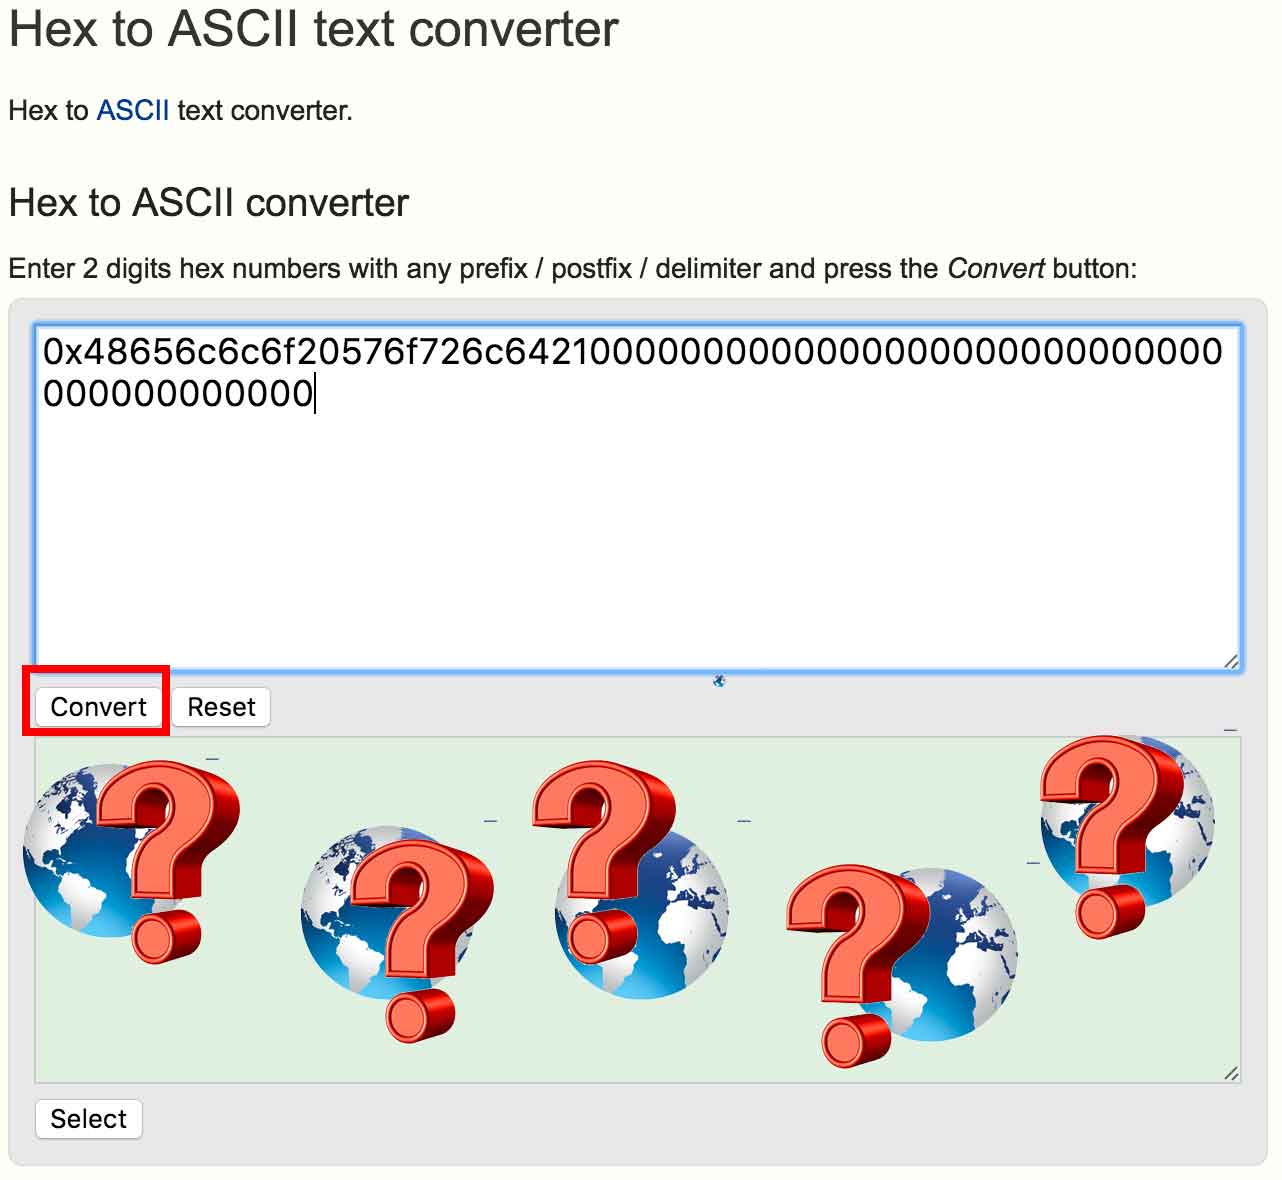
Oh nose! What is this nonsense? That's hex! We've got to convert the hexadecimal code to human-readable ASCII.
First, copy that horrible hex, and we will soon convert it.

Head over to http://www.rapidtables.com/convert/number/hex-to-ascii.htm and paste the hex into the top box. Click Convert and watch the magic! :)
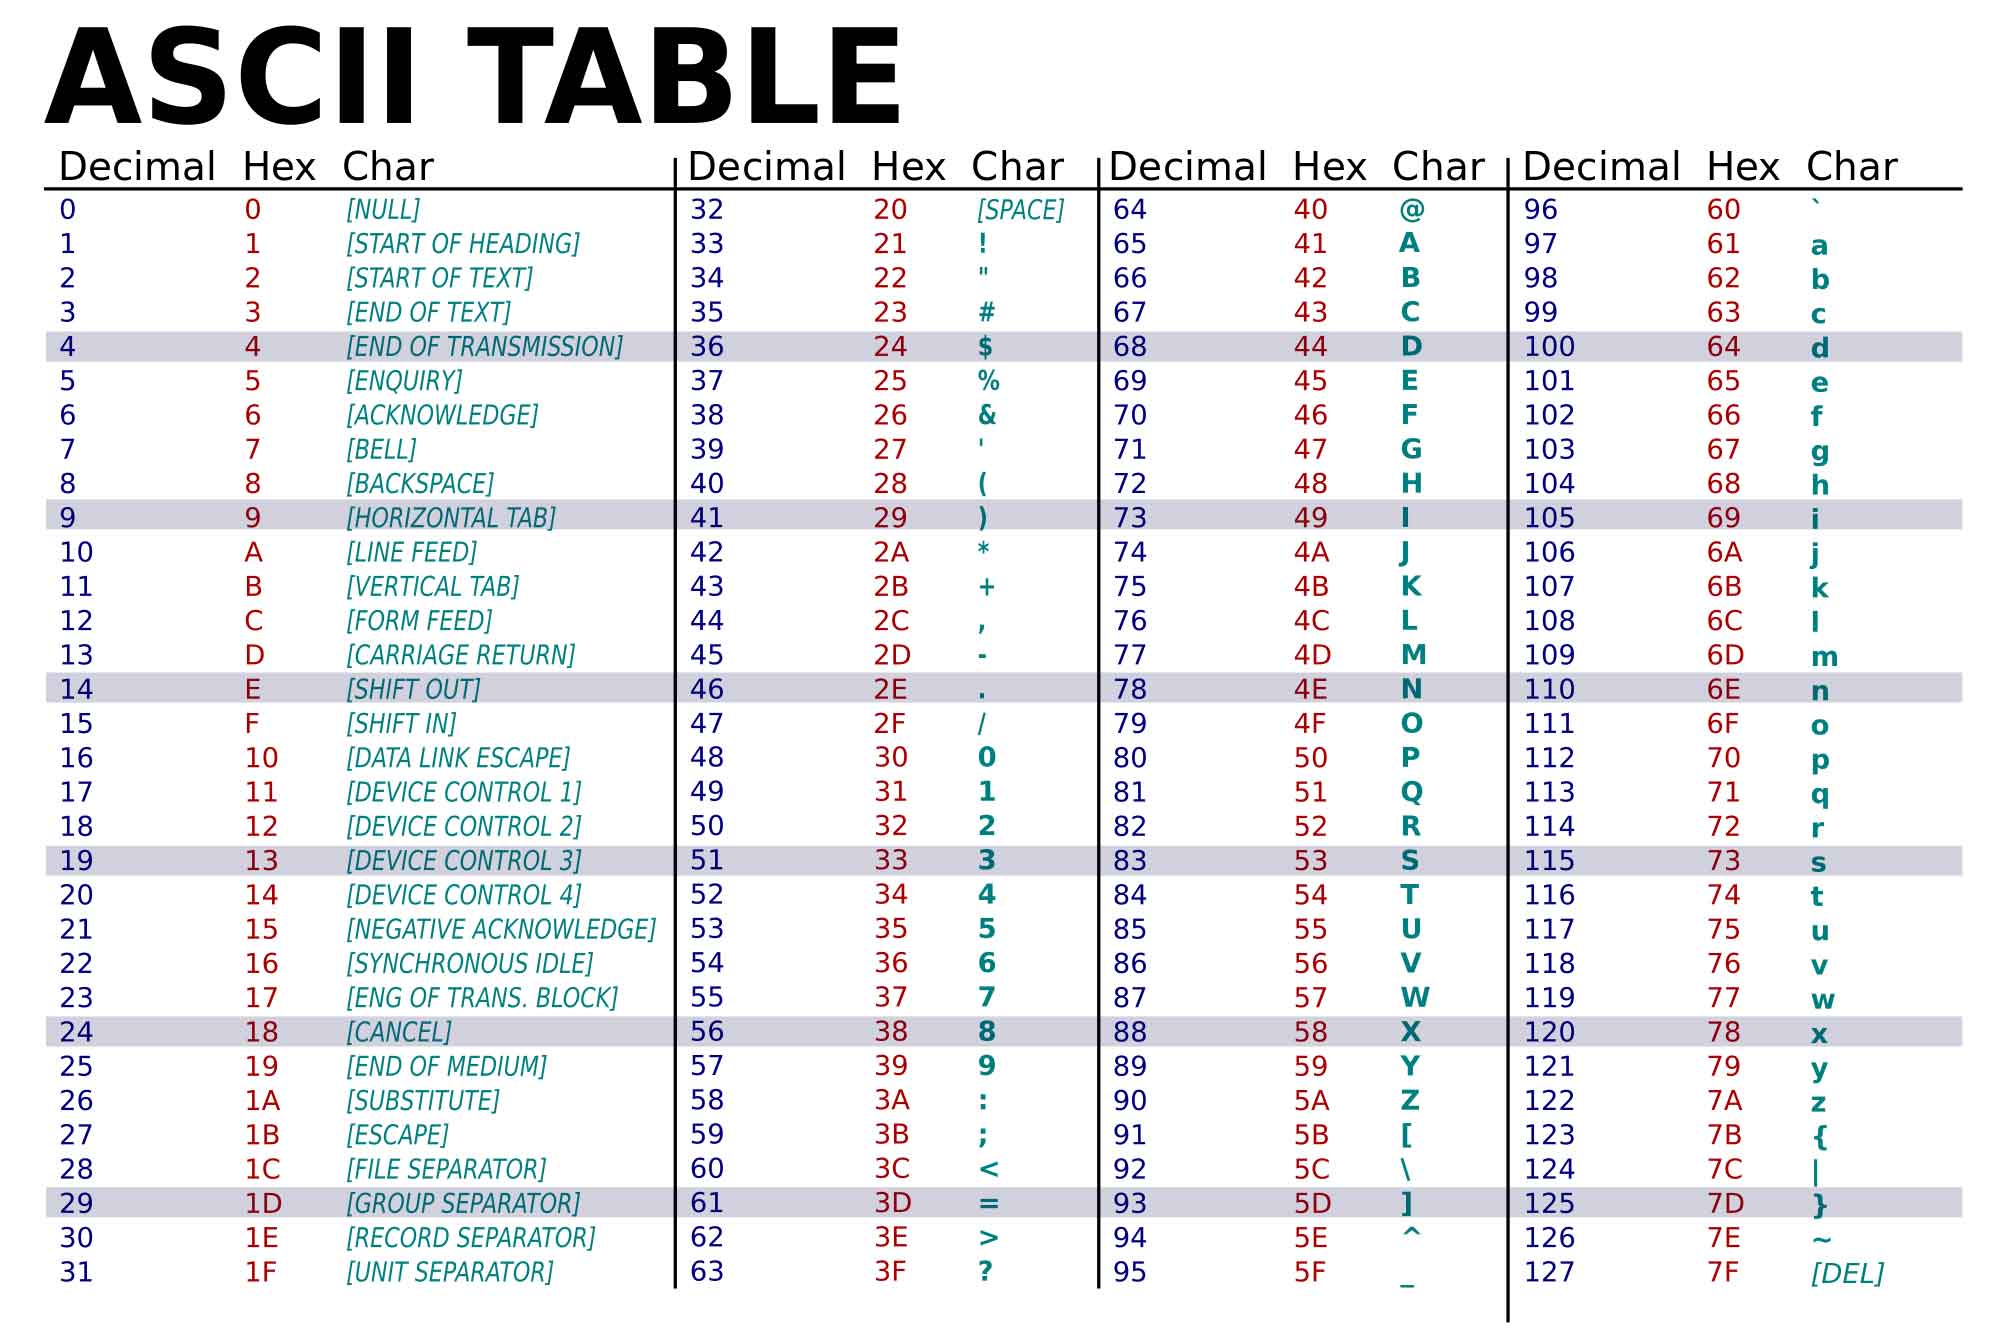
Bonus Points: Spend your Sunday converting hex to ascii by hand using this chart:
🎉 You did it! 🎉
You're officially a Solidity master! But to become a Solidity master++ check out part 2 where we deploy a commit-reveal style voting contract!