Learning Solidity Part 2: Commit-Reveal Voting

What is "commit-reveal"?
To understand how the commit-reveal commitment scheme works, it is useful to break it down into it's two component parts:
- Commit: You assert your choice to your peers.
- Reveal: You reveal your choice, and everyone can verify that is in fact what you committed to.
This scheme is particularly useful when conducting a poll or election. One might want to wait for all votes to be cast before revealing who voted for whom. This prevents voters basing their judgements on votes which have already been cast.
To better understand how commit-reveal works in practice, consider the following implementations:
Physical commit-reveal voting
First, let's understand how to implement commit-reveal voting in the physical world. The diagram below goes through each of the steps:

Following these steps ensures that people voting are not influenced by each other's votes during the voting period.
Virtual commit-reveal voting
Implementing commit-reveal voting in code is different from in the physical world. The difference is, in code, we will use a hash function instead of a safe.
For this tutorial, you can think of a hash function as a magical pipe which you stick words in, and it spits out crazy HEX (hexadecimal) code that looks like: 9c22ff5f21f0b8b9a3cb658. The HEX code that comes out has a few important properties:
- The same input always produces the same
HEXcode; and - There is no way to be given the
HEXcode and determine what the input was.
Now that you are a master hasher, let's go over how to implement virtual commit-reveal!

Now that we know the steps to implement commit-reveal voting, let's code it up in Solidity!
Setting up our Commit-Reveal Election contract
We will use the Browser Solidity editor to deploy a contract which handles commit-reveal voting for a single election. Click on the following link to open Browser Solidity with the CommitRevealElection code preloaded:
https://ethereum.github.io/browser-solidity/#gist=0ba69290f5d18823548dc32fe1f6a250
Note: You can find the full contract source on GitHub Gist here.
You should now see all of the CommitRevealElection contract code in the editor. Something like the following:

Before we start playing around, let's switch our Browser Solidity enviornment to use a local VM. The local VM is useful for testing because transactions are nearly instant & don't require test ETH. Later we can use the public testnet which will let us create votes over the internet with our friends!
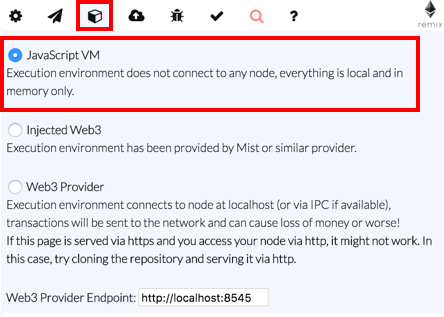
To use the JavaScript VM, click on the box icon in the top right and select JavaScript VM.

Now that we are using the JavaScript VM, let's start a test election!
Deploying our Commit-Reveal Election contract
To start a new election, we must deploy a new instance of the CommitRevealElection contract. When we deploy we have to specify some key parameters which will define our election. These parameters are defined in the contract constructor:
    // Constructor used to set parameters for the this specific election
    function CommitRevealElection(uint _commitPhaseLengthInSeconds,
                                  string _choice1,
                                  string _choice2) {
uint _commitPhaseLengthInSeconds- How long the commit phase of our election should last. Once the time is up, we will not allow anymore vote commits, and instead only allow vote reveals.
- If you want the commit phase to last for 3 minutes, input
180.
string _choice1- Our first candidate, ie"Grand Master Doge".string _choice2- Our second candidate, ie"Apex Alpaca".
To actually deploy the contract, input your parameters and click the red Create button on the right side of the screen:

Now that the contract is deployed, you'll see a bunch of blue buttons pop up like  . These represent values you can access at anytime which do not change the blockchain state. You can click them to check on the current status of our election.
If you scroll down, you will also see:

These are our two most important functions. Soon we will use commitVote(bytes32 _voteCommit) to commit a few votes. But first, we will need to generate our commit hashes.
Generating Hashes
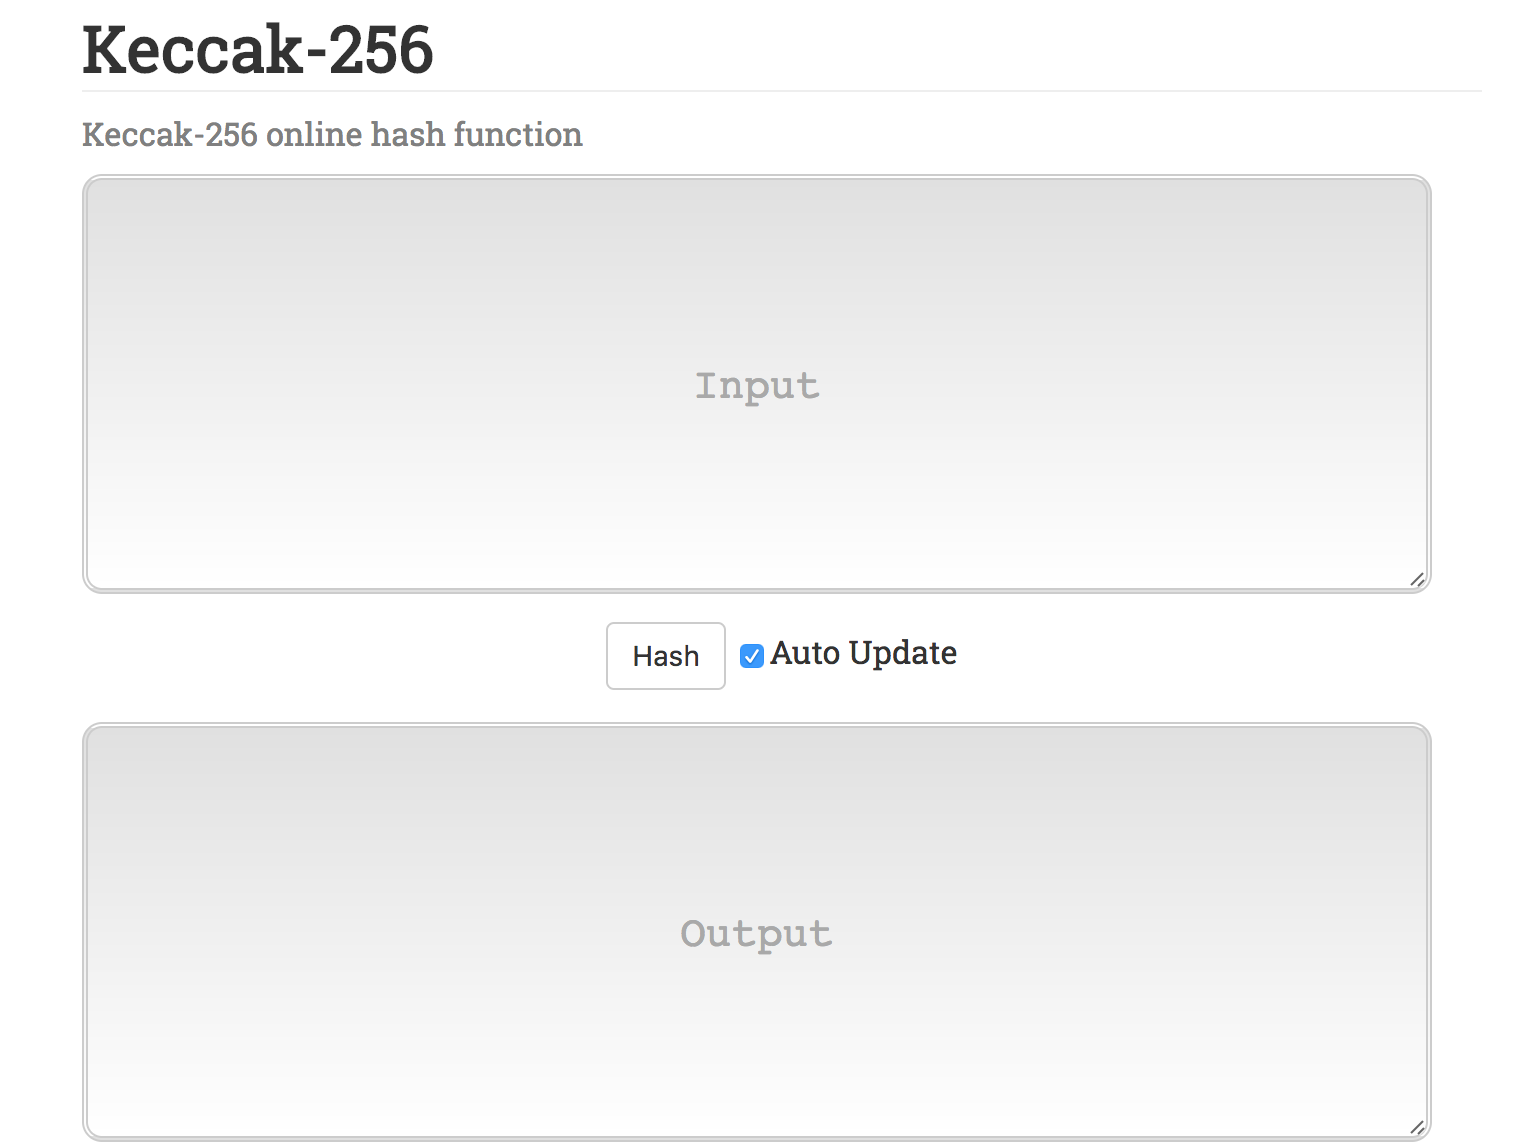
In our virtual commit-reveal voting scheme, we used a hash function to generate our _voteCommit. In this election we will use the hashing function keccak256. Click the following link to visit a website which we will use to hash our votes:
The page should look something like this: 
Try typing in the Input box. Notice that each character you type creates a different hash. Also notice, that the same word always generates the same hash. This is how we generate vote commits!
Vote Format
In this implementation, a vote for choice1 will take the form:
1-my_secret_password
and a vote for choice2 will take the form:
2-my_other_secret_password
Notice that the 1 and 2 are the actual votes. The passwords are included to make sure votes remain secret until the reveal period. Each vote is required to use a unique password. If two votes were to use the same password, then the vote commits will be the same. If the vote commits are the same, then only one vote will be counted!
Submitting Vote Commits
First we need to generate our vote commit. To do this, input your properly formatted vote in the input section. Then copy the resulting hash. (Make sure you don't forget the password!)

Now open Browser Solidity, where we will submit our vote commit.
Important Note: Browser Solidity requires all
HEXto be prefixed with0x. The hash you copied does not include the0xprefix. Don't forget to add0xin front of your hash!
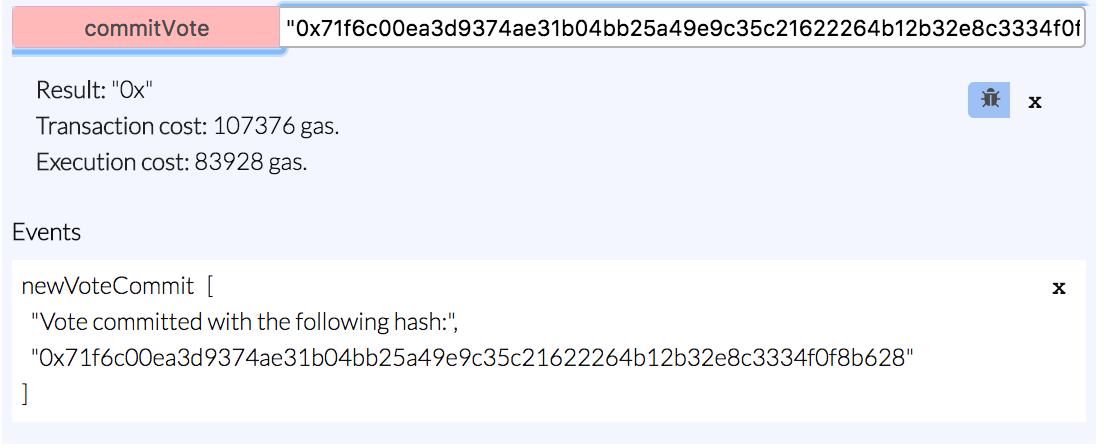
To submit our commit, scroll down to the red commitVote button. Then input your hash prefixed with 0x and surrounded by quotes. Once it is in the right format, click the red button to submit.

After submitting, it is likely that you will receive the error:
VM Exception: invalid JUMP
This is an extremely common error in Solidity. In this case, it means you submitted your commit after the commit phase. If this is the case, simply redeploy the CommitRevealElection contract!
If your commit was successful, you should receive an event which records that a vote was committed.

To commit more votes, simply repeat this process changing the password each time. In this implementation there are no restrictions on the same account voting multiple times. Just make sure each vote is in the correct format, and that you don't forget the passwords!
Revealing Votes
Once the voting period is over, we can start revealing the votes! To do so, we will call the function:
revealVote(string _vote, bytes32 _voteCommit)
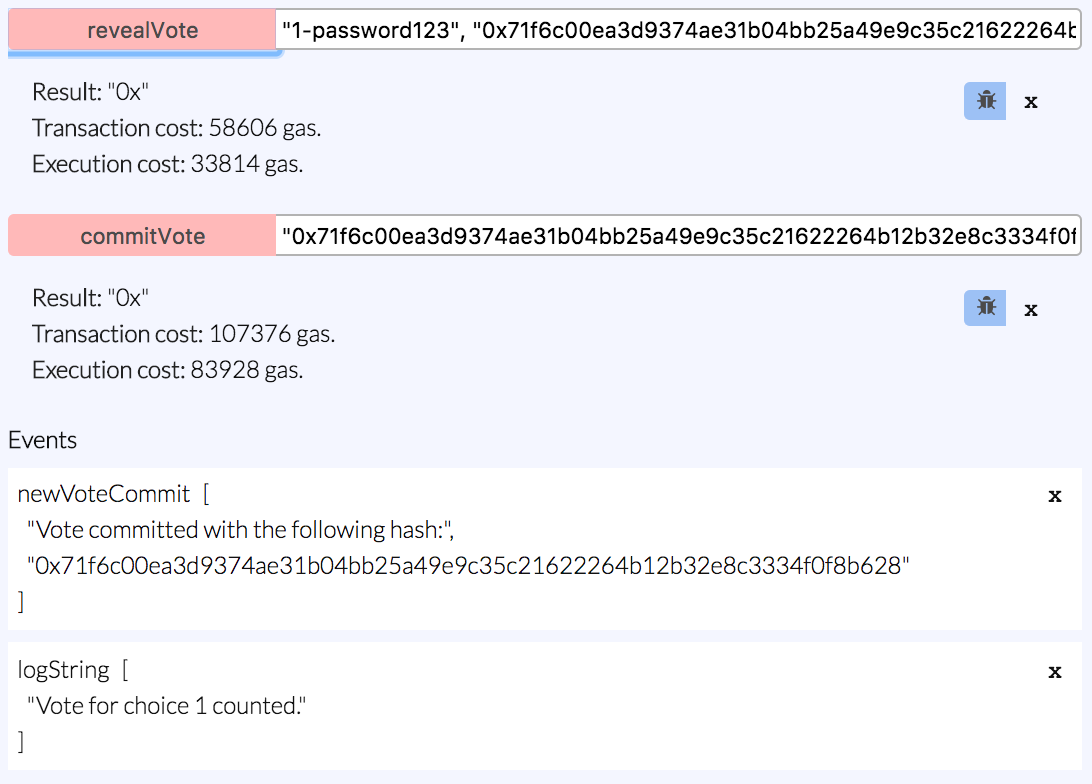
The vote is the input text that we put into the hash calculator, and the commit is the corresponding output hash. Don't forget to prefix the hash with 0x. Once it is in the right format, click the red button to submit.

If once again you receive the error VM Exception: invalid JUMP, this is probably because you tried to reveal a vote before the commit phase finished. You'll have to wait until the time is up to start revealing.
If your vote was successfully revealed, you should see a corresponding event.

Repeat this process until every vote has been revealed. Note that in this implementation, an election won't finish if there are any outstanding votes which have not been revealed. You can easily change the contract to include a reveal phase timeout if you don't want to rely on counting every vote.
Who won?
Click on the blue getWinner button when all the votes are counted to see who won!

Of course the winner was Grand Master Doge!
Keep an eye out for the Doge.DAO led by your one, and only, supreme leader!
Deploying to the public TestNet with MetaMask
Now that we know how to conduct elections using a local JavaScript VM, it is easy to conduct the same election on the public TestNet. This lets you conduct elections with all your friends!
Note: If you don't know how to use MetaMask, see Learning Solidity Part 1: Contract Dev with MetaMask
First, we need to tell Browser Solidity to use MetaMask's Injected Web3 object instead of the JavaScript VM. Navigate back to the box and this time select Injected Web3.

Now simply follow the same procedure we used for the JavaScript VM. The only difference is you will have to approve all of your transactions in MetaMask, and wait a while for them to be mined.
Letting your friends vote
Using the public network is boring unless you have your friend vote in your election. To do this, first they must open the same Browser Solidity link:
https://ethereum.github.io/browser-solidity/#gist=0ba69290f5d18823548dc32fe1f6a250
Next, they need to input your election's address into Browser Solidity. To find your election's address, open MetaMask. Then look for a Contract Published transaction in your history. Once you've found it, click on the copy icon:

Once you've sent them your address, they will need to add it to Browser Solidity. To do so, click the green button labeled At Address.

A popup will appear asking for the address. Copy the address MetaMask provided into the textfield. Then, remove the 0x found at the beginning of the address! Unfortunately, MetaMask copies the address prepending 0x but Browser Solidity doesn't like 0x in this case. 🤔 [Let me know in the comments if this changes]

Once added, your friend should immediately see all of the same buttons that pop up when you create a new contract. From there, they can just follow the same procedure we used for the JavaScript VM.
Next Steps
- The current
CommitRevealElectioncontract doesn't restrict how many times an account can vote! A fun exercise would be adding that support. Hint: Checkmsg.sender! - Currently every vote must be revealed, or the election never returns a winner. You may want to add a timeout or some other mechanism to the reveal phase to avoid this problem. Hint: Check out
nowandtime units - You definitely want to look out for Learning Solidity Part 3! I'm planning on reviewing the
CommitRevealElectioncode line by line. - Sorry for taking so long to come out with Learning Solidity Part Two!!!

